Create Rich Turkey Stock for Your Cooking Needs
You know that warm, nostalgic scent that fills the kitchen after a holiday meal. It stays with you for days and begs to be turned into something useful. This guide helps you make turkey stock that lifts gravies, soups, and leftover recipes without fuss.
Begin with roasted wings and browned onions, carrots, and celery to build deep flavor.
Simmer gently for a few hours, strain more than once, and chill quickly so you can use the liquid across the week. Season aromatics early but salt only after reduction to avoid over-salting.
You’ll learn simple methods—from a minimalist bones-only approach to a full-carcas simmer—and a slow cooker option if you need a hands-off day. With a little planning, you can make stock three to four days ahead and free up time on the big day.
Table of Contents
Why You’ll Love Making Turkey Stock at Home
Turning leftover carcass and drippings into a simmering pot yields big flavor for little effort.
You get richer gravy and heartier soup because a bone-based liquid gels as it cools. That gel shows collagen extraction and gives a silky mouthfeel that boxed broth often lacks.
Making your own also cuts waste. Save the carcass, neck, giblets, skin, and pan drippings. Add onions, carrots, celery, and herbs you already bought and you’ll barely need to shop.
Stock vs. broth: what to expect
- Stock (bone-based) cooks longer, often 3–6 hours, is usually unsalted, and yields body when chilled.
- Broth (meat-based) cooks faster, under 2 hours, is often salted, and is ready for immediate use in soups.
- Simmer gently to keep a clean, clear liquid and avoid emulsifying fat into the cooking water.
| Feature | Bone-Based | Meat-Based |
|---|---|---|
| Typical cook time | 3–6 hours | <2 hours |
| Seasoning | Leave unsalted until end | Often salted during cooking |
| Result | Gel, rich mouthfeel | Clearer, lighter flavor |
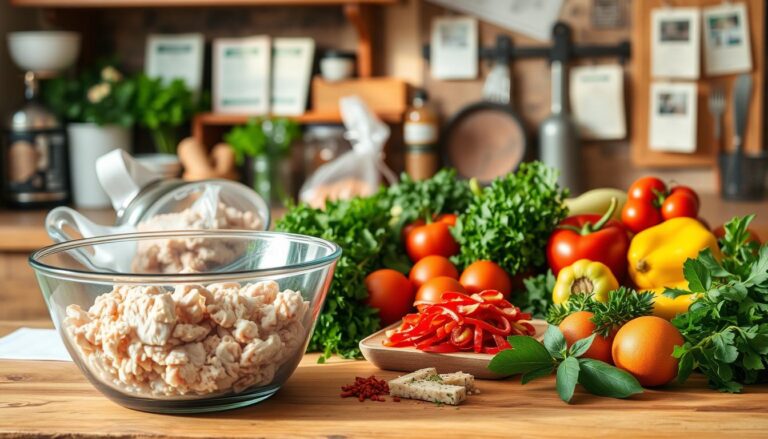
Ingredients and Tools to Make Turkey Stock
Start by assembling your bones, aromatics, and gear—prep saves time and boosts flavor.
Essentials: the carcass and leftover bones form the backbone of your liquid. Add the neck, giblets, any skin, and pan drippings for more savory depth.
- Vegetables: onion (quartered), carrots, and celery with leaves for aroma.
- Flavor builders: smashed garlic, parsley, sage, rosemary, thyme, bay leaves, and whole peppercorns.
- Minimalist option: bones, peppercorns, garlic, salt, and water for a clean, versatile result.
Gear matters. Use a large stock pot (6+ quarts) or a slow cooker if you want hands-off cooking. Line a fine-mesh strainer with cheesecloth or paper towels for a clear pour.

- Plan enough water to fully cover bones and vegetables so nothing dries out during a long simmer.
- Roast wings separately and brown onions, carrots, and celery to add Maillard depth before adding water.
- Keep salt out until the end and have freezer-safe containers and a fat separator ready for finishing and storage.
“Good prep and the right gear turn leftovers into a rich, useful base for soups and sauces.”
How to Make Turkey Stock: Step-by-Step
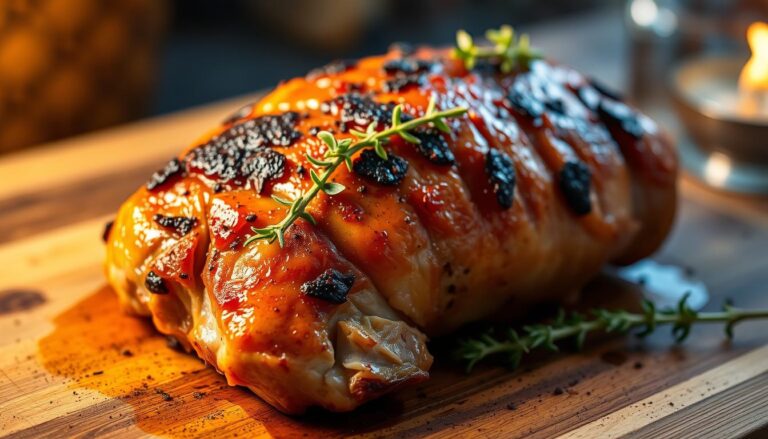
Start by crisping wings in a hot oven and caramelizing vegetables to layer savory notes.
Roast and brown for depth
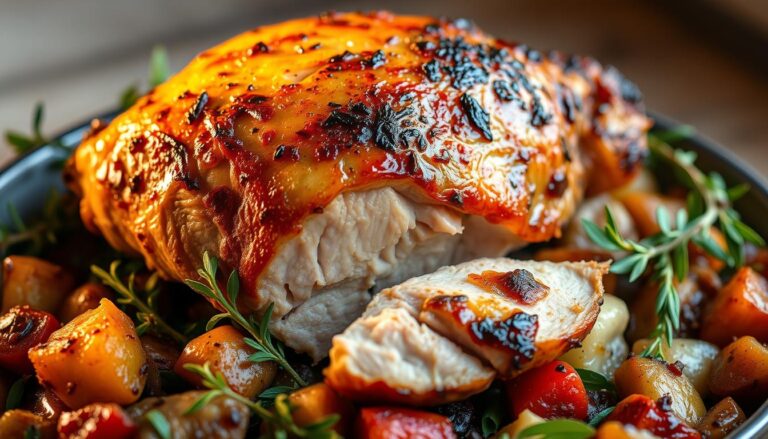
Roast wings at 450°F for about 60–70 minutes, flipping halfway so both sides turn golden. Brown onions, carrots, and celery in olive oil in your pot until deeply caramelized.
Bring to heat, then simmer low
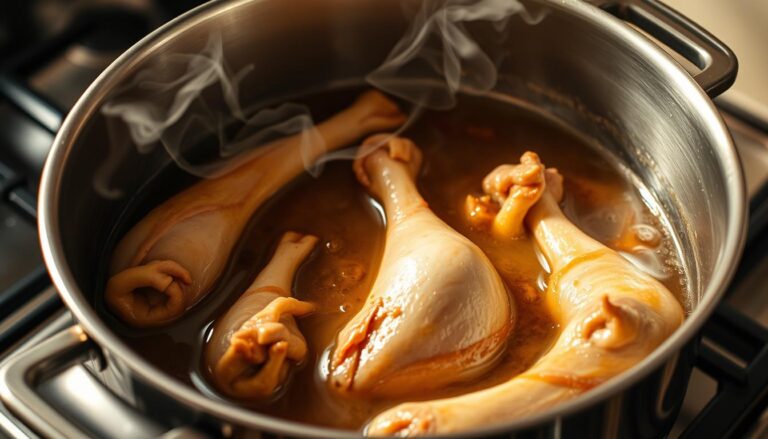
Add the roasted wings, bones, herbs, and peppercorns to the pot and cover with 14–16 cups of water. Bring the liquid to a boil, then drop the heat to a gentle simmer.
Simmer uncovered for about 30 minutes, skim foam, then cover and continue for another 2 to 2.5+ hours. Check occasionally and top up with hot water as needed so solids stay mostly covered.
Season and clarify
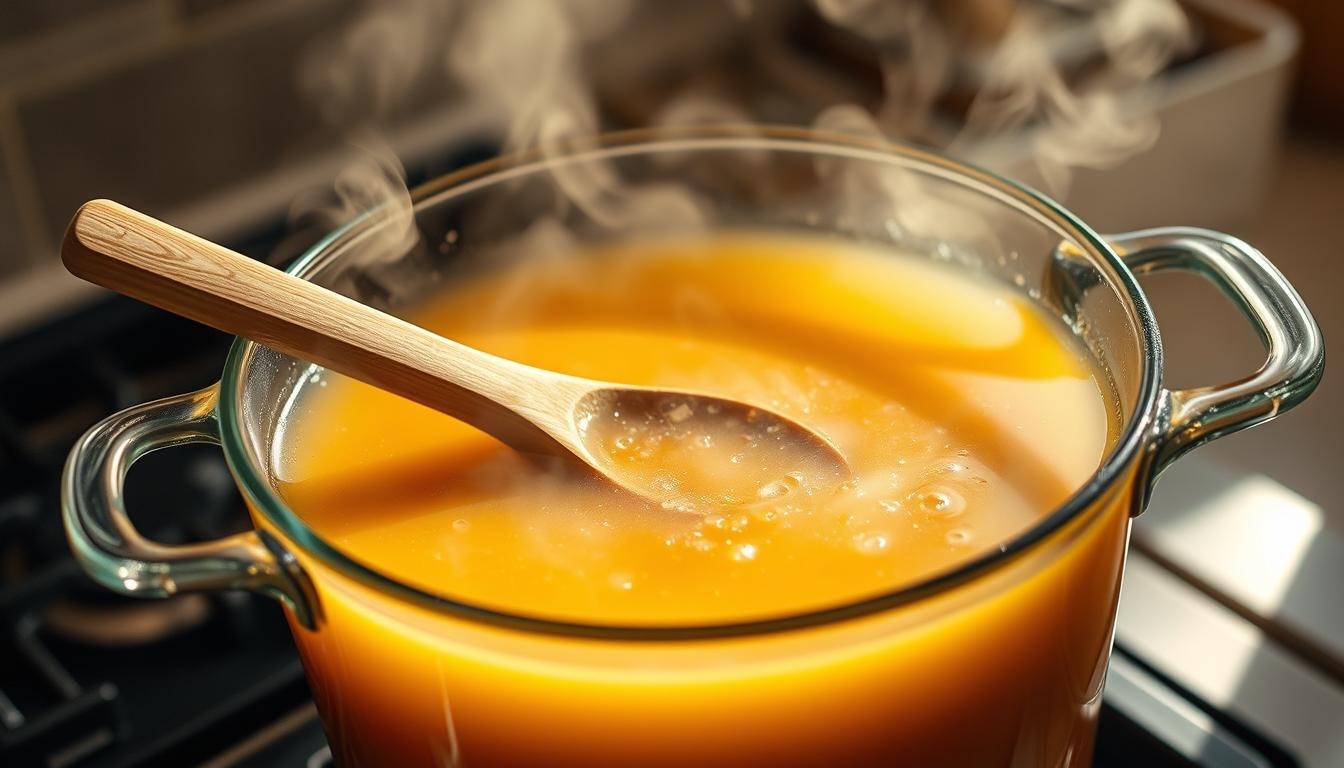
Hold salt until the end. After reduction, start with 1–2 teaspoons kosher salt per large pot and adjust to taste. Strain the liquid through a fine-mesh sieve or cheesecloth two to three times for a clear result.
Use a fat separator immediately or chill the stock until the fat solidifies and lift it off in a few minutes. Remove big wings and the neck with tongs before pouring to avoid splashes.

“Good technique—roasting, gentle simmering, and careful straining—makes a clean, gelatin-rich base.”
| Step | Action | Typical time |
|---|---|---|
| Roast wings | 450°F until golden, flip once | 60–70 minutes |
| Initial simmer | Bring to boil, reduce to gentle simmer, skim | 30 minutes uncovered |
| Long simmer | Covered, low heat for extraction | 2–2.5+ hours |
| Slow cooker option | Low heat, strain and remove fat after | 10–12 hours |
Follow these steps and you will reliably make turkey stock with rich flavor and clean clarity.
Variations and Methods: The Best Way to Make Turkey Stock for You
Choose the approach that matches your schedule—fast stovetop or an overnight, unattended cooker.
Minimalist bones-only method
Keep it simple when you want clarity and speed. Use a carcass or leftover bones with peppercorns, smashed garlic, a pinch of salt, and water.
Simmer gently for about 2–3 hours without stirring. Strain through cheesecloth or paper towels and replace the liner as it loads with fat.
Make it in a slow cooker
For a hands-off option, add the carcass, neck, giblets, vegetables, herbs, and enough water to cover.
Set the slow cooker on Low for 10–12 hours, then strain and separate fat. This cooker method gives depth with minimal attention.
Mixing bones for a fuller pot
If you need more volume, combine turkey wings, a carcass, or saved chicken bones. Mixed poultry bones still yield a gelatinous, versatile base.
Smoked bones will darken and add a smoky note—great for stews. You can also add a small amount of pan drippings for extra savory backbone.
“Match your method to time and taste; simple ingredients and long extraction make the best results.”
| Method | Main ingredients | Cook time / key tip |
|---|---|---|
| Minimalist | Carcass, bones, garlic, peppercorns | 2–3 hours; strain finely |
| Slow cooker | Carcass, neck, giblets, veg, herbs | 10–12 hours on Low; separate fat |
| Mixed bones | Turkey wings, chicken bones, smoked options | 3+ hours; expect deeper color with smoked bones |
Storage, Safety, and Smart Uses
Cool and store properly to keep flavor and food safety aligned. Cool your pot quickly in an ice bath, then move containers to the fridge within two hours.
Timing and freezing
Refrigerate for 3–5 days depending on how fast you cooled it. Freeze portions for 3–6 months and label with date and volume.
Portioning and containers
Use mason jars for short-term needs and zip-top freezer bags for long storage. Pack half-pints for pan sauces, pints for rice or beans, and quarts for soups.
Skimming and finishing
Line your strainer with cheesecloth or a paper towel to remove most fat. Finish with a separator or chill and lift the congealed layer from the top.
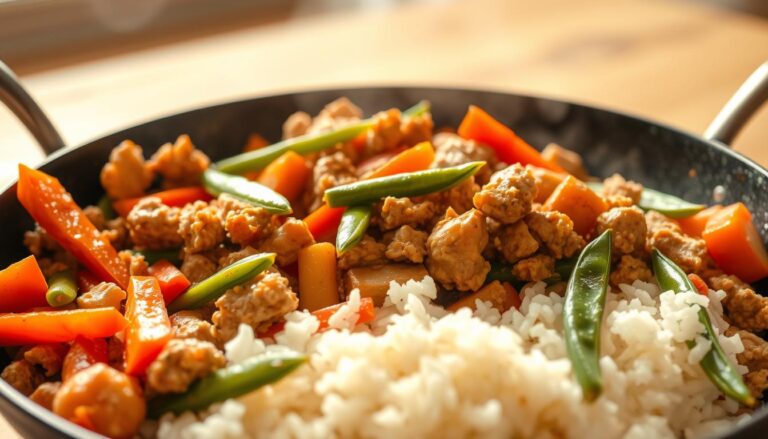
Ways to use it
Keep some unsalted so you can add seasoning when you cook. Use this base for gravy, stuffing, risotto, rice, beans, and both simple soup and hearty soups.
“Write a quick note on the jar — ‘1 qt for chili’ — so dinner prep saves you time.”
Conclusion
Finish confidently: a few simple habits make every batch useful and clean.
Keep heat low, simmer for hours, and strain more than once to get clear broth with body from bones and a saved carcass.
Salt at the end, chill quickly, and lift congealed fat from the top or use a separator into a bowl before storing in the fridge or freezer.
Choose the method that fits you—roasted-wing depth, minimalist bones-only, or the slow cooker—and use this base in soups, gravies, risottos, and other recipes for days.
Make stock once and you’ll streamline many meals with one smart, flavorful step.