Longhorn Parmesan Crusted Chicken: Delicious Recipe
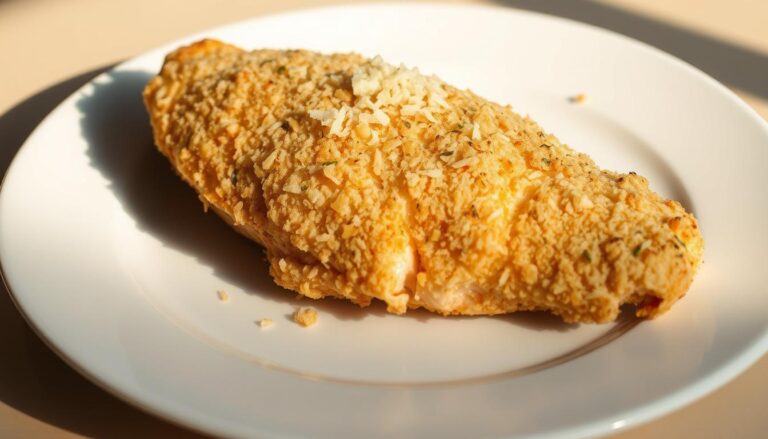
You know that warm, cozy feeling when a favorite restaurant plate arrives at your table. You can recreate that memory at home with a simple skillet-to-broiler method that yields a golden, cheesy crust and a juicy center.
This recipe gives you clear steps: marinate in Italian and ranch dressings, sear for color, then broil with a provolone-parmesan sauce and a Parmesan-Panko topping. Aim for 165°F and never leave the broiler unattended.
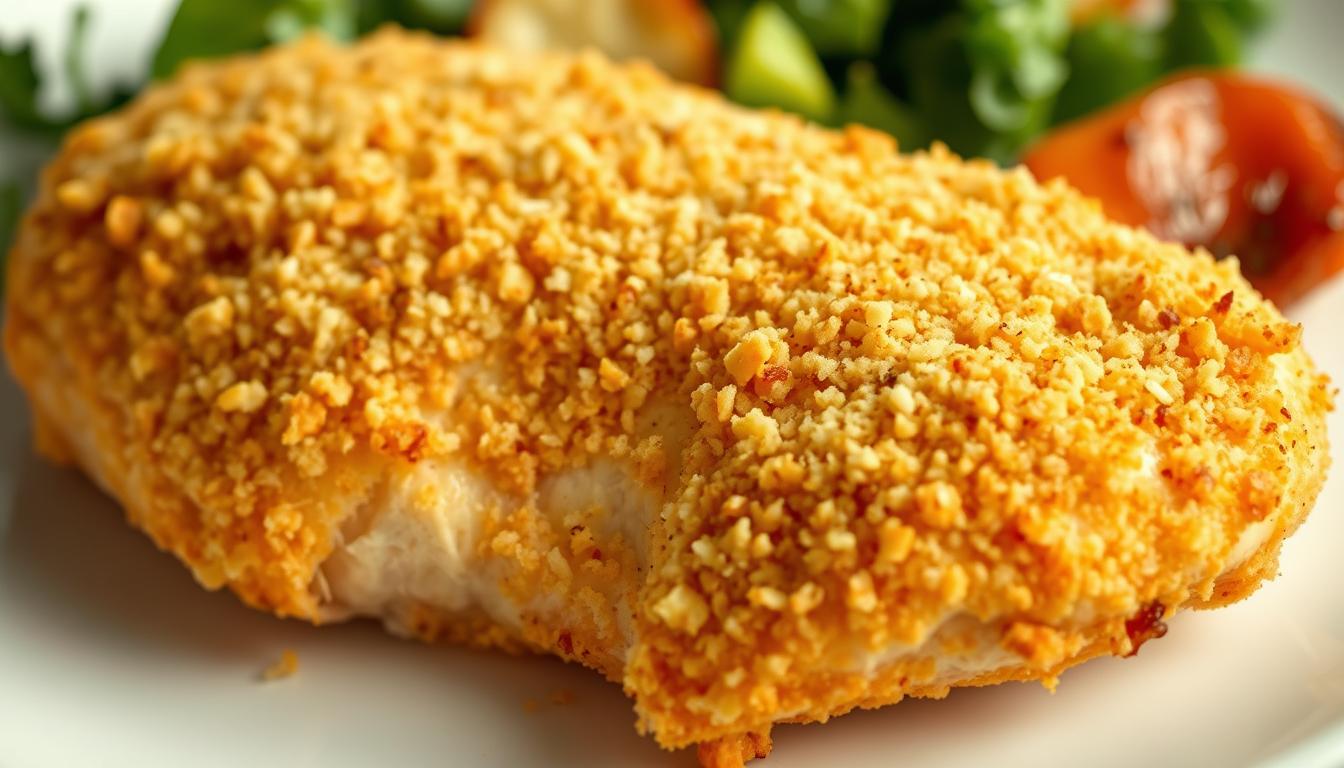
The thin-sliced breasts cook fast; pound or slice thicker breasts for even results. Serve the dish with mashed potatoes, roasted vegetables, or a crisp salad to round the meal out.
Store leftovers up to 3 days in the fridge or freeze for 3 months. Reheat in the oven or air fryer to keep the crust crisp and the cheese melty.
Table of Contents
Why You’ll Love This Copycat Longhorn Parmesan Crusted Chicken
A quick broil locks in moisture while creating a golden, cheesy surface you’ll crave. The broiler method recreates that steakhouse finish without long hands-on time. You get a crisp topping and a juicy center in minutes.
Juicy meat with a crispy, cheesy crust
The high heat sets the topping fast, so the interior stays tender. Thin-sliced chicken cooks evenly and cuts total time, making this ideal for weeknights.
This approach pairs a melty cheese layer with a buttery Panko finish to deliver the same contrast you enjoy at a steakhouse. Freshly grated parmesan melts smoother, and provolone blends well; you can swap in Swiss or Mozzarella if you prefer.
- Fast broil heat creates a crisp, savory edge without drying the meat.
- Simple steps—marinade, sear, broil—make the recipe reliable and repeatable.
- The layered flavors—from marinade to sauce to topping—give a rich, craveable finish.
Ingredients You’ll Need for the Parmesan Crusted Chicken
A tidy mise en place with measured ingredients keeps the crust even and the sauce creamy. Gather the items below before you start so the pan and broiler are ready when you are.
Chicken and marinade
For the protein: 4 thin-sliced chicken breasts. Whisk 1/2 cup Italian dressing with 1/3 cup ranch and coat the breasts. Chill 30 minutes to overnight for best results.
Cheese sauce
Combine 4 oz provolone cheese, 1/3 cup freshly grated parmesan cheese, and 1/3 cup ranch. Warm gently until mostly melted so the sauce clings to the meat.
Parmesan crust and seasonings
- Mix 1/2 cup panko (breadcrumbs) with 1/4 cup parmesan, 1 1/2 tsp garlic powder, and 3 Tbsp melted butter.
- Use 2 Tbsp vegetable oil to sear the breasts for color.
- Season to taste; add a pinch of salt if your butter is unsalted.
Essential Equipment and Prep
Organize your workspace—hot skillet, preheated broiler, and measured topping—so you can work fast. A smooth setup prevents rushed steps and helps the topping brown evenly.
- Choose a heavy, broiler-safe skillet so you can sear on the stove and move the pan straight to the oven without changing dishes.
- If you want grill marks, use a grill pan to sear over medium-high heat, then finish under the broiler for the signature crust.
- Arrange the oven rack in the middle and preheat the broiler on low so the topping browns evenly without burning.
Keep a sheet pan lined with foil ready for batch cooking if your skillet can’t hold all portions. Pat the chicken dry after marinating so it sears instead of steaming.
Use an instant-read thermometer to check the internal temperature in the thickest part; the breasts are done at 165°F. Stay near the oven and set short timers—crumbs can go from golden to dark in just a minute or two.
Quick tip: Pre-measure the sauce and topping so you can layer them in seconds between searing and broiling. This small step saves heat and keeps the recipe running smoothly.
Step-by-Step: Skillet-to-Broiler Method for Longhorn Parmesan Crusted Chicken
Follow these concise steps to move quickly from stovetop to oven and get a crisp, golden top.
Marinate for flavor and tenderness:
Whisk 1/2 cup Italian dressing with 1/3 cup ranch and coat 4 thin-sliced breasts. Chill at least 30 minutes so the meat absorbs the flavors and tenderizes.
Pan sear, then broil for color:
Preheat the broiler on low and set the rack in the middle. Heat a large skillet over medium and add 2 Tbsp oil. Let excess marinade drip off, then sear the breasts so they brown instead of steam.
Layer sauce and crunchy topping
Make the sauce from 4 oz provolone, 1/3 cup freshly grated parmesan, and 1/3 cup ranch. Warm in 30-second bursts until mostly melted so it spreads easily.
Mix 1/2 cup panko, 1/4 cup parmesan, 1 1/2 tsp garlic powder, and 3 Tbsp melted butter. Spoon the cheese sauce over each piece, then press the panko mix on top for a savory finish.
Finish under the broiler and check doneness
Sear and broil about 5 minutes per side until lightly browned, adjusting minutes for thickness. Return to the oven and broil 5–10 minutes more until the top is golden and the internal temperature reads 165°F.
Safety note: never leave the broiler unattended; set short timers and rotate the pan if needed for even color. Let the pieces rest briefly so juices settle, then serve while the crust is hot and crisp.
Alternate Methods: Oven-Baked and Grilled Options
You can finish this recipe in the oven or on the grill with minimal fuss and great results.
Oven-baked option: Preheat the oven to 425°F. Lightly grease an oven-safe dish just large enough for the chicken breasts. Add 2 Tbsp water to the dish to keep the meat moist as it bakes.
Bake for 15–18 minutes depending on thickness. Then spoon on the cheese sauce and press the parmesan crust on top. Broil briefly until the topping is golden and crisp. Always confirm doneness at 165°F before serving.
Grilled option: Preheat the grill to medium-high heat. Cook the pieces 4–7 minutes per side without moving them so they form a good sear.
Add the cheese and crumb topping at the end. Broil briefly or close the grill lid to melt and brown the topping. Use a pan or sheet tray to move items under the broiler if needed.
| Method | Temp | Time | Finish |
|---|---|---|---|
| Oven-baked | 425°F | 15–18 minutes, then broil | Moist interior, crisp topping |
| Grilled | Medium-high heat | 4–7 minutes per side | Seared surface, melty top after broil |
| Skillet-to-broiler | Stovetop → broil | Minutes vary by thickness | Best for quick weeknight results |
- For oven-baked, use a snug dish and add water to retain moisture.
- After baking, layer the sauce and crumb topping, then broil to brown.
- Adjust minutes to thickness and always verify 165°F for safe, juicy meat.
Make the Best Parmesan Crust and Cheese Topping
Your topping should balance a silky cheese layer with a crisp, golden crumb for every bite. Start with quality ingredients and build texture in layers so the topping browns without sliding off.

Why freshly grated cheese and choice provolone matter
Grate parmesan cheese fresh for a smoother melt and richer taste. Pre-grated products use anti-caking agents that hinder proper melting.
Pick a clean-melting provolone like Boar’s Head or Prima Della for a creamy base. Warm the provolone cheese with a little grated parmesan and ranch until mostly melted.
Build a crunchy, flavorful crumb
Combine panko, grated parmesan, garlic powder, and melted butter for the topping. The larger panko flakes give a light crunch while breadcrumbs can help fill gaps.
- Distribute the crumb evenly so every bite has crunch.
- Use a light layer—overpacking makes soggy spots.
- Add a pinch of salt if your butter is unsalted or mix extra parmesan for a sharper finish.
Substitutions, Variations, and Dietary Swaps
Choose swaps that preserve melt and crunch so the final plate still feels restaurant-quality.
Cheese swaps and texture tips:
Swap provolone with Swiss, Mozzarella, or Munster for similar melt and a creamy finish. Try Asiago or Romano if you want a sharper bite to the sauce and topping.
Keto and breadcrumb alternatives:
For a low-carb crust, replace panko or breadcrumbs with finely crushed pork rinds to keep a crisp edge. You can also use a gluten-free panko alternative that matches crumb size for even browning.
Cuts and add-ins:
Use thin-sliced chicken breasts or pound a regular chicken breast to an even thickness so cooking is fast and uniform. Mix herbs, onion powder, or a pinch of garlic powder into the crumb for extra aroma.
“Small ingredient swaps let you keep the method while creating new flavor and texture profiles.”
| Swap | Why it works | Best use |
|---|---|---|
| Swiss / Mozzarella / Munster | Good melt, mild flavor | Sauce and topping for creamy pulls |
| Asiago / Romano | Sharper, saltier notes | When you want more savory bite |
| Pork rind / GF panko | Crunch without gluten or carbs | Keto or gluten-free crusts |
Serving Ideas and Side Dishes
Choose sides that add texture and brightness to balance the buttery topping. Pairing the right items turns this main into a complete, memorable dish you’ll want to repeat.

Mashed or roasted potatoes, steamed veggies, or salad
Potatoes are a natural match. Serve creamy mashed potatoes made on the stovetop or in a slow cooker for comfort.
Roasted potatoes give a crisp contrast that complements the juicy chicken and the golden crust on top.
Add steamed broccoli, cauliflower, or asparagus for color and a fresh bite. A Caesar salad or a chopped Italian-style salad brings tang and crunch to cut through richness.
Timing your sides so everything is hot and crisp
Start sides first and plan their minutes so they finish just as the topping goes golden under the broiler.
Keep roasted veggies on warm while you broil to preserve crisp edges. If grilling, par-cook potatoes inside and finish them on the grill for a smoky touch.
- Pair mashed or roasted potatoes with the rich crust for a classic combo.
- Include steamed veggies for balance and color.
- Dress salad at the last minute so greens stay crisp next to a hot main.
- Plate immediately after broiling so the crust stays shattery and the sides are served hot.
Storage, Reheating, and Make-Ahead Tips
A little planning up front makes leftover meals taste nearly as good as fresh. Refrigerate cooled portions in airtight containers for up to 3 days, or freeze single-serve pieces for up to 3 months.
When you’re ready to eat, reheat in a 350°F oven or use an air fryer. Heat for about 10–15 minutes until warmed through. This revives a crisp crust and a melty interior far better than a microwave.
For frozen portions, thaw overnight in the fridge so the topping and meat reheat evenly. Let the pieces rest a couple of minutes after reheating so heat distributes and the center stays juicy.
Practical checklist for best results
- Store in airtight containers up to 3 days or freeze up to 3 months for easy weeknight dinners.
- Reheat in the oven or air fryer at 350°F for about 10–15 minutes to restore texture.
- Avoid microwaving; it softens the crumb and dulls the contrast between the topping and the meat.
- Rewarm sides like potatoes separately so each component reaches ideal temperature at the same time.
- Place items on a wire rack over a sheet pan so hot air circulates and the bottom of the crust stays crisp.
- Refresh the topping with a teaspoon of extra crumbs before reheating if the surface looks thin.
- Label containers with date and contents so you track storage and plan quick meals without guesswork.
Tip: Only reheat what you’ll eat now—repeated reheating shortens shelf life and weakens the crisp topping.
Conclusion
A few focused minutes under the broiler tie the whole dish together into a golden, savory finale. This method mirrors the restaurant approach: marinate, sear, broil, then finish with a cheese sauce and a Parmesan-Panko topping to 165°F.
Use thin-sliced pieces for faster, even cooking and watch the broiler closely—color changes quickly. Serve with mashed potatoes, roasted veggies, or a crisp salad so everything reaches the table hot.
Store cooked portions in the fridge up to 3 days or freeze up to 3 months. Reheat in the oven or an air fryer to restore crisp texture. Bookmark this recipe so you can recreate that longhorn parmesan feel any weeknight when you want a cheesy, crispy finish in less time.