Delicious Beef Pares: A Flavorful Filipino Favorite
You know that warm, savory bowl that feels like a hug after a long day? This classic trio of saucy braised meat, garlic fried rice, and a clear broth became a comfort staple from small street stalls to home kitchens across the U.S.
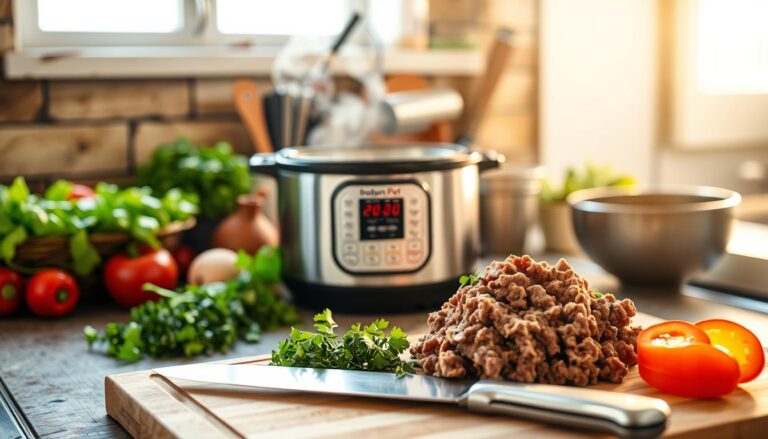
In this piece you’ll learn what makes this dish sing: the balance of soy and brown sugar, the gentle lift from garlic and ginger, and the anise note that rounds the flavor. You’ll see which cuts give spoon-tender results and how pressure-cooking or slow braising changes timing and texture.
Follow friendly, practical steps to get a glossy sauce, a clear broth in a proper pot, and sinangag that uses day-old rice and low-heat golden garlic. By the end, you’ll feel ready to plate a cozy bowl that honors tradition and fits your weeknight pace.
Table of Contents
What Beef Pares Is and Why You’ll Love It
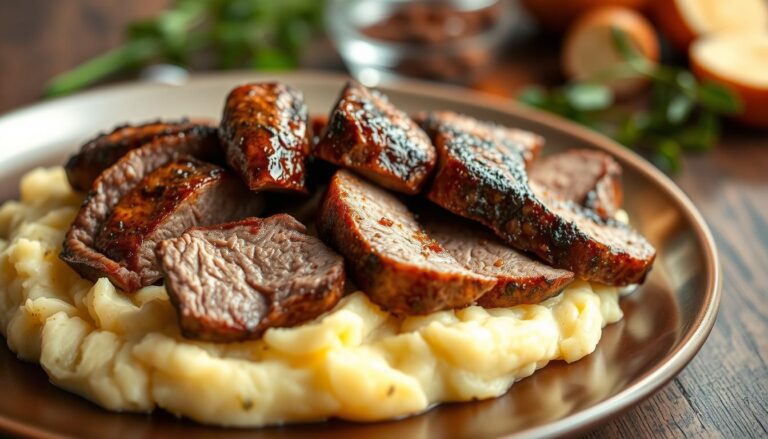
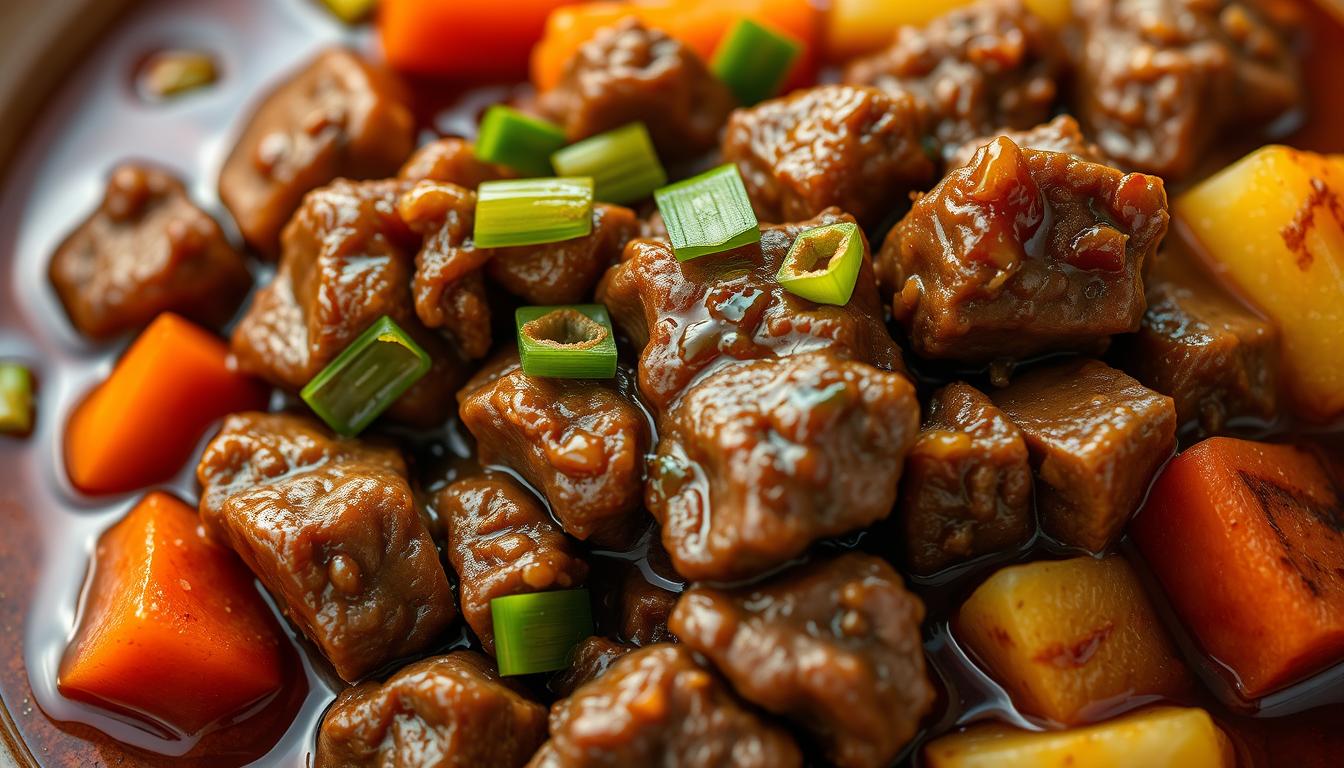
Picture a single plate and a small bowl that together deliver savory-sweet meat, craveable rice, and a soothing, spiced clear broth.
“Pares” means pairing — the saucy, slow-braised meat served with garlic rice and a clear soup. This simple combo began at roadside stalls and pares houses. It later moved into restaurants and family kitchens across the United States.
A comforting, three-part meal
The dish is budget friendly and complete. The saucy meat tops warm rice while a small bowl of broth refreshes each bite.
Street-food roots to home-cooked classic
Roadside vendors made it a favorite for drivers and night-shift diners. It grew into a comfort food you can cook at home with little fuss.
- The broth gets its fragrance from star anise, ginger, soy, garlic, and pepper.
- Soaking and a gentle simmer keep the soup clear and the meat tender, even if it takes hours on the stovetop.
- It scales well for family dinners or meal prep without losing its charm.
“A warm bowl and garlicky rice make this pairing feel like home.”
beef pares recipe: Ingredients, Best Cuts, and Key Flavors
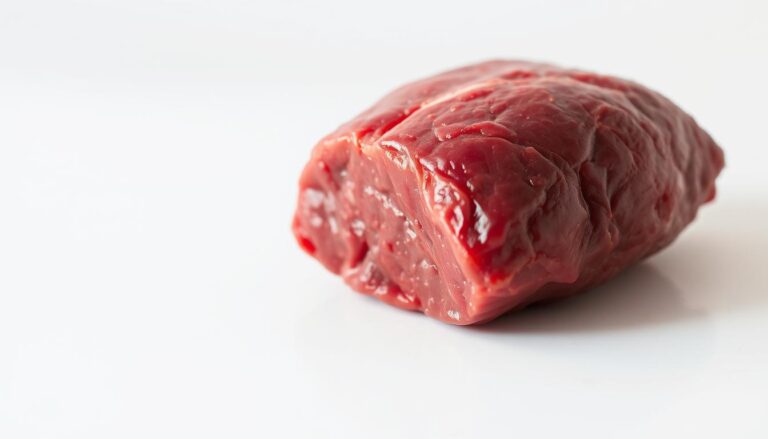
Begin by selecting cuts with connective tissue so the final dish feels rich and spoon-tender.
You’ll favor brisket, chuck, shank, and bone-in short ribs. These pieces have collagen that melts into gelatin during low-and-slow cooking.
Shank and short ribs add marrow and body to the broth. That gives the sauce a silky mouthfeel without extra steps.
The best cuts for tenderness and depth
- Brisket and chuck: juicy, great for shredding or slicing.
- Shank: adds marrow and collagen for a richer beef broth.
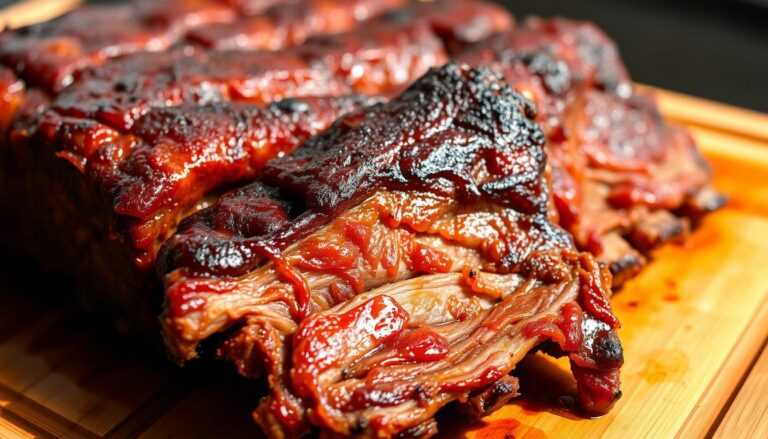
- Short ribs (bone-in): give fat and flavor that cling to the sauce.
Core flavor builders and optional enhancers
Start with onion, garlic, and ginger. Brown sugar and soy sauce make the sweet-savory base. Add star anise and peppercorns for that signature aroma.
Optionally, layer five-spice, bay leaves, or a splash of fish sauce to deepen complexity. Salt carefully and measure sugar so the balance stays savory, not sweet.
“Use cuts with collagen and simple aromatics so the sauce develops naturally as the meat cooks.”
| Component | Why it matters | Typical amount |
|---|---|---|
| Brisket / Chuck | Tender when slow-cooked; sauce clings to slices | 2–3 lbs |
| Shank / Short ribs | Adds marrow, collagen, and deeper broth | 1–2 lbs (bone-in) |
| Aromatics | Onion, ginger, cloves garlic bloom flavor | 1 onion, 3–5 cloves garlic, 1–2″ ginger |
| Seasonings | Soy sauce, brown sugar, star anise balance sweet-savory | 2 tbsp soy sauce, 2 tbsp brown sugar, 1 star anise |
| Liquids | Use cups of beef broth to adjust consistency | 2–4 cups, add later as needed |
Build a Rich, Clear Beef Broth from Scratch
Start by coaxing deep, roasted flavor from bones before you ever set the pot on the stove.
Broil bones about 20 minutes to add roast depth. Transfer them to a pot and cover with cold water. Bring just to a bare simmer rather than a hard boil.
Roast first, then simmer gently
Soak the beef for 10–15 minutes to reduce surface impurities before cooking. Add onions, carrot, and celery for a simple mirepoix. A splash of vinegar or a beef cube helps draw collagen and body.
Keep it clear: skim, don’t roar
Skim foam often so the broth stays bright. Avoid a rolling boil; vigorous cooking clouds the stock. Simmer gently for at least 3 hours and ideally 8+ hours for the richest body.
Shortcuts and storage
Use store-bought beef broth for speed, or make a big batch and freeze cups of stock for later. Season with salt at the end and strain through a fine mesh for a pristine bowl.
| Step | Why | Tip |
|---|---|---|
| Broil bones 20 min | Builds roast flavor | Use high heat, brown evenly |
| Cover with cold water | Extract collagen slowly | Top up with cups of water as it simmers |
| Simmer 3–8+ hours | Develops body without clouding | Keep just under a boil, skim foam |
| Strain and finish | Clear presentation and clean taste | Garnish with toasted garlic and scallions |
“A clear, slow-simmered broth makes the perfect companion to saucy meat in your beef pares bowl.”
Step-by-Step: Cook Pares on the Stovetop, Pressure Cooker, or Slow Cooker
Pick the method that suits your schedule and follow clear steps to get tender meat and a glossy sauce.
Stovetop method
Heat a heavy pot over medium-high. Add oil and sear the beef until browned to build fond.
Lower heat, soften onion, garlic, and ginger. Stir in soy sauce, brown sugar, star anise, bay leaf, and pepper.
Add water or beef broth, scrape the pot, then simmer gently until the meat is spoon-tender. Adjust liquid by tablespoons to keep the right consistency.
Pressure cooker timing
For busy nights use a pressure cooker. Lock the lid and cook at high pressure about 15–20 minutes.
Release naturally or quick-release based on your time. Skim fat and taste for seasoning before finishing.
Slow cooker approach
Set on low for 6–8 hours for melt-in-your-mouth texture. Sear first if you can, or add beef straight to the cooker for convenience.
Finish and thicken
Transfer some meat and cooking liquid to a pan. Whisk in a cornstarch slurry and simmer a couple of minutes until the sauce is glossy.
Return meat to the sauce, skim excess fat, and keep the clear broth separate for serving.

| Method | Active steps | Key timing | Finish |
|---|---|---|---|
| Stovetop | Sear, sauté aromatics, add liquid, simmer | Simmer until fork-tender (varies) | Thicken with slurry; skim fat |
| Pressure cooker | Brown if possible, lock lid, cook | 15–20 minutes at pressure | Adjust seasoning; glossy sauce |
| Slow cooker | Add seared or raw meat, low heat | 6–8 hours on low | Thicken briefly; keep broth clear |
“Finish with a light slurry so the sauce clings to slices without becoming heavy.”
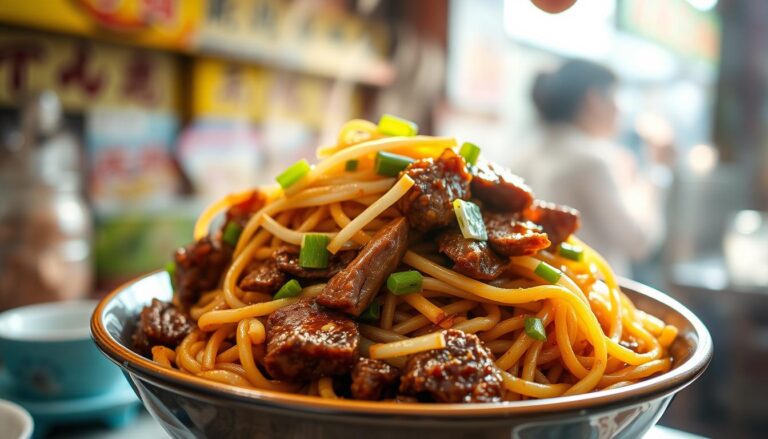
Garlic Fried Rice (Sinangag) to Pair with Your Pares
For the crispiest sinangag, work with cold, day-old rice and a patient hand at the pan.
Start with refrigerated, day-old rice. Chilled grains separate easily and resist turning mushy when you toss them with oil over modest heat.
Gently fry minced garlic in oil until it is just pale gold. Remove the garlic bits so they don’t scorch while you stir the rice.
Return the crisp garlic at the end and fold it through the grains for texture and aroma. Season simply with salt so the garlic fried rice supports the saucy beef pares without competing.
Quick technique notes
- Use low to medium heat to avoid burnt garlic and bitter notes.
- Use just enough oil to lightly coat each cup of rice; too much makes the fried rice greasy.
- Scale by cup measures—make a little extra; leftover garlic fried rice reheats well.
- Add chopped scallions at the finish if you want a fresh pop, but keep garlic the star.
“Controlled heat and day-old rice are the easy tricks to perfect garlic fried rice every time.”
Pro Tips to Nail Flavor, Texture, and Timing
A few targeted moves will lift flavor, keep broth clear, and save time.
Lean on star anise but use it sparingly. The star adds that warm, licorice-like note that defines this dish. Add one whole star early so the aroma blooms without overpowering the meat.
Balance soy sauce and brown sugar by tasting as you reduce. Add sugar in small increments so the sauce stays savory-sweet. Remember salt at the end because soy sauce concentrates as the liquid reduces.

Keep the broth crystal clear
Soak trimmed pieces briefly and rinse to lower surface impurities. Skim foam often and keep a gentle simmer—avoid a rolling boil for minutes at a time.
Watch timing for perfect texture
Use pressure cooking for about 15–20 minutes when you’re short on time. For low-and-slow, pull the meat the moment it’s tender so slices hold shape and the sauce stays glossy.
Finish with fresh toppers
Add green onions and toasted garlic on top at the very end. These bright notes lift the rich sauce and give contrast to the savory meat.
| Tip | Why it matters | Quick action |
|---|---|---|
| Measure star anise | Prevents overpowering anise flavor | Use 1 whole star per pot |
| Adjust sugar and soy | Keeps sauce balanced and not too sweet | Add sugar gradually; taste before salting |
| Gentle simmer & skim | Maintains clear broth and clean flavor | Low boil; skim foam every 15 minutes |
| Light slurry finish | Gives silky sauce without heaviness | Mix cornstarch with cold water; add 1 tbsp |
“Finish with green onions and toasted garlic to add freshness and crunchy aroma.”
Serve It Right: Classic Pairings, Variations, and Nutrition Notes
Arrange the components separately so each spoonful balances savory sauce, fragrant rice, and a palate-cleansing broth.
Traditional plating
Plate the saucy meat on a serving dish, place garlic fried rice or steamed rice beside it, and bring a small clear bowl of broth for sipping.
This keeps textures distinct and the broth bright between bites.
Make it your way
You can swap garlic rice for plain steamed rice, add sliced chiles for heat, or toss in bok choy or mushrooms for color and vitamin boost.
A spoon or two of sauce poured into the bowl enhances broth depth without muddying clarity.
Cut selection, fat, and nutrition
Fattier cuts add richness and a silky mouthfeel but raise calories and fat.
Balance taste and nutrition by trimming some fat or serving smaller portions by the cup when meal-prepping.
- Portion meat and sauce separately from rice and broth for best reheating.
- Refrigerate leftovers up to 3 days; freeze up to 2 months.
- Watch sugar and salt when reducing sauce so repeated servings stay balanced.
“Serve hot, garnish with scallions and toasted garlic, and enjoy each clean sip of broth between bites.”
Conclusion
Careful searing, gentle simmering, and a quick slurry at the end will give you a silky sauce and a bright broth.
You’ve seen how approachable this beef pares recipe is. Pick stovetop, pressure cooker, or slow cooker, and let time do the work while you tend to simple steps like searing and skimming.
Finish with toasted garlic and scallions on top, adjust soy and sugar to taste, and keep the clear broth separate from the rice for the classic experience. Store leftovers in cups of beef broth for easy reheats.
Now you can make a balanced, comforting plate at home that rivals the stalls and restaurants you love—tender meat, glossy sauce, and a fragrant bowl to sip between bites.