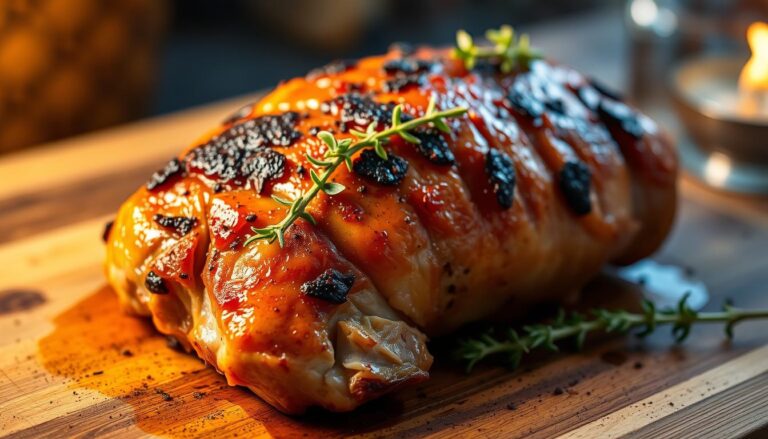
The Best Deep Fried Turkey Injection Marinade
You want your holiday bird to sing with flavor, not just look impressive on the table. You may have tried long brines or surface rubs and still wished for more depth. This recipe shows a faster way to get seasoning inside the meat in minutes, so the center tastes as good as the skin.
Using an injector—a large syringe with a sturdy needle—lets you add moisture and internal seasoning without overnight soaking. Blend the mix until smooth so the needle won’t clog. Many cooks combine this with a rub for layered taste.
This introduction previews tools, timing, and safety for frying, and it explains why a smooth, needle-friendly mix matters. Read on to learn a practical recipe, step-by-step injection tips, and timing options so you can nail Thanksgiving with confidence.
Table of Contents
Why you’ll love injecting flavor into your deep fried turkey
A well-placed injection moves seasoning and moisture past the skin so the meat tastes great from crust to core.
Injection marinades push flavor directly into the meat, so every slice is balanced and juicy. This method works alone or with rubs and brines for layered taste without long waits.
You can inject several hours before cooking when roasting to deepen the profile. Or you can inject right before frying to limit leakage and keep the skin dry for crispness.
Controlling how water-based liquids spread inside the bird is a key advantage. Proper technique helps aromatics circulate and prevents bland spots in thick cuts.
- You get consistent seasoning across breast and thighs.
- It’s an efficient way to boost flavor when time is short.
- The method scales well for small or large birds and most recipes.
In short, this is a reliable way to guarantee juicy meat and a well-seasoned centerpiece with less fuss than lengthy brines.
What is a turkey injection marinade and how it works
A syringe-fed blend moves seasoning into the meat where surface rubs can’t reach. An injector is a large syringe with a thick needle designed to push small amounts of thin, smooth liquid deep into the bird.
That inside flavor does three things: it adds moisture, helps tenderize, and spreads seasoning evenly through muscle fibers. You want a blend that flows cleanly so the syringe and needle do not clog.
Timing changes by cooking method. For roast or smoke, inject a few hours ahead to let flavor circulate. For frying, many cooks inject right before cook time to limit leakage and keep skin dry.
- Thin, strained mixes pass through the syringe more reliably.
- Targeted injections reach thick areas that surface methods miss.
- Needle gauge and side holes affect how the blend disperses inside the meat.
Pair internal and external seasoning so layers meet in the center and give you a balanced, juicy result in the oven, on the grill, or in the fryer.
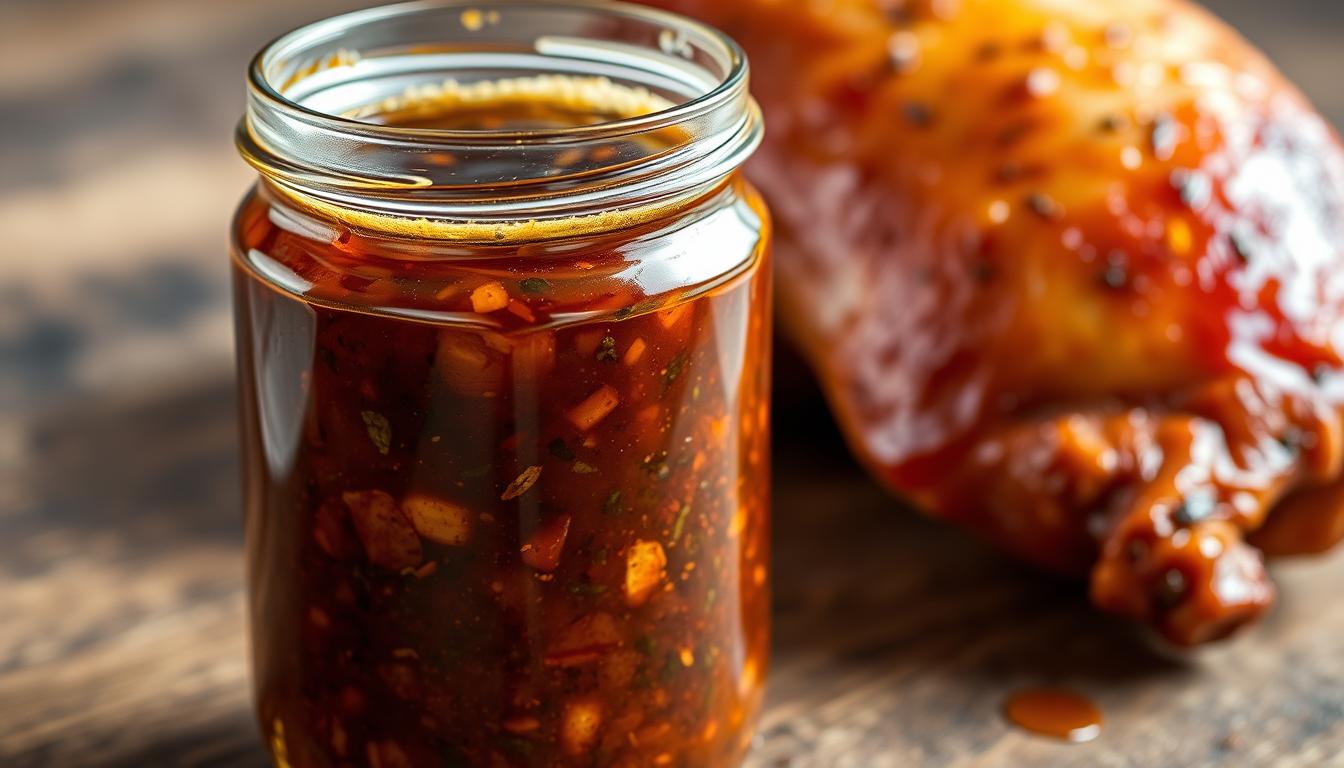
Ingredients and substitutions for a bold injection marinade
Pick a liquid base that matches your cooking method before you mix spices and fats. Your choice affects flow, flavor, and whether you need to re-melt ingredients before use.
Butter, oil, and liquid bases: Use melted butter for richness when roasting. Keep oil minimal for a touch of body, but skip heavy fats if you plan to fry to avoid weeping and soggy skin. For the smoothest flow, favor beer or low-sodium chicken broth.
Acid and umami boosters: Bright notes from lemon or apple cider lift the profile. Add a splash of worcestershire sauce for savory depth. Balance acids so they don’t overpower the meat.
- Spice basics: Use fine forms — garlic powder, onion powder, and powder cayenne pepper — to prevent clogs.
- Regional lift: Add cajun seasoning or Creole blends for heat and character.
- Sodium control: Choose low-sodium broth or reduce added salt when using beer to avoid oversalting.
Tools you need: injector syringe, needle size, and mixing gear
Start with quality gear — the right syringe and needle make all the difference when you want reliable flow and easy cleanup. Pick a heavy-duty metal injector with a solid plunger and sealed fittings so it stands up to repeated use on a holiday bird.
Choosing metal vs plastic and avoiding clogs
Choose a syringe with the capacity you need and a needle gauge that suits thin liquids. A few side holes in the needle help disperse the blend inside thick meat for even coverage.
Mixing gear and quick prep
Use a heatproof bowl, whisk, and fine strainer to make a lump-free liquid ready in minutes. Grind herbs and spices to a fine powder so particles won’t block the needle.
- Whisk, don’t shake carbonated bases to cut mess and keep the liquid smooth.
- Keep the liquid warm but not hot so fats stay fluid and seals stay safe.
- Lay paper towels nearby and confirm the injector disassembles for thorough cleaning.
With the right tools, setup, and care, you’ll find a fast, dependable way to season your turkey evenly and cleanly.
Deep fried turkey injection marinade
Make a smooth, syringe-ready liquid in minutes with a simple whisk-and-strain workflow that keeps your needle clear.
Quick mix method for a smooth, needle-ready liquid
Follow this recipe: whisk 1/2 cup melted unsalted butter with 1/4 cup extra virgin olive oil, 1 tsp hot sauce, 1 tsp lemon juice, 1/4 tsp ground thyme, 1 tsp garlic powder, 1 tsp onion powder, 1/2 tsp crab and shrimp boil, and 1/2 tsp Creole seasoning. Whisk until smooth.
Alternatively, mix a beer-forward cup: 12 oz light beer, 2 tbsp Worcestershire, 2 tbsp honey, a few drops hot sauce, and 1 tsp coarse kosher salt. Whisk to dissolve fully and keep warm, not hot.
Blending tips to prevent clogs with spices and herbs
Grind any chunky herbs to a fine powder or skip them. Strain or briefly blend the liquid to remove particles that block fine needles.
| Profile | Main liquid | Key spices | Ready in |
|---|---|---|---|
| Cajun butter-forward | Butter + oil | Garlic powder, onion powder, Creole | Minutes |
| Beer-forward | Light beer | Worcestershire, honey, salt | Minutes |
- Keep powders dissolved so each draw is consistent.
- Use a measuring cup with a spout to refill the syringe cleanly.
- Prepare only enough liquid to cover injection points and avoid waste.
How to inject turkey like a pro
Start with food-safety basics: a fully thawed bird and a clean workspace make every injection safer and more effective.
Thawing, safety, and temperature targets
Thaw completely in the refrigerator before you work. Keep the bird cold and use a meat thermometer.
Cook to an internal temperature of 165°F in the thickest part of the breast and thigh. This is non-negotiable for safety.
Where to place shots and how not to hit bone
Load your syringe and pick a needle that reaches deep without piercing through. Inject the breasts at several angles so the liquid spreads through the muscle.
Target thighs and other meaty zones while avoiding bones and the cavity. Mark spots mentally and work methodically.
How much to use and managing leakage
A guideline is about 1/2 ounce of liquid for every 5 pounds of whole bird. For frying, inject right before cooking to limit loss over hours.
Place the turkey in the pan or tray before you inject to reduce jostling. Inject slowly and pause between pushes. Dab any surface water or spills so the skin stays dry and oil safety is preserved.
“Proper placement, slow pushes, and a dry surface cut waste and make your efforts count.”
| Step | Action | Why it matters |
|---|---|---|
| Thaw | Refrigerate until fully thawed | Prevents bacteria and ensures even cooking |
| Needle choice | Use a long, sturdy needle | Reaches deep meat without tearing |
| Dosage | ~0.5 oz per 5 lb | Even seasoning without over-wetting skin |
| Timing | Inject just before cooking | Limits leakage and keeps skin dry |
Timing your injection for deep frying success
A well-timed shot balances taste gains with a safe, dry surface for hot oil.
Right before frying vs earlier: what changes and why
Injecting just before you lower the bird keeps most of the liquid inside. It reduces leaks and helps the skin remain dry for crisping and safer contact with oil.
Waiting several hours can increase internal flavor as liquids move through muscle. But that also raises the chance that excess water or other liquids will seep out when you move the bird.
Patting the skin dry to prevent oil splatter and ensure crispness
After each shot, gently dab the surface with paper towels. Remove any visible water or spill so the oil does not splatter. Do not rub or massage; that can force liquid back out.
Stage towels and a wire rack so the bird can air-dry briefly while you bring the oil to temperature. Make timing a habit: inject, dab, and fry.
“Inject, dab, and fry—simple steps that protect both flavor and safety.”
| Timing | Benefit | Consideration |
|---|---|---|
| Right before frying | Max skin dryness; less leakage | Short flavor diffusion time |
| Several hours earlier | Deeper interior flavor | Higher chance of surface moisture and spills |
| Staging (dabbing + rack) | Improves crispness and safety | Requires a few extra minutes before cooking |
- Plan your time window to match the cooking method.
- Keep flavor goals realistic for frying; quick shots work well.
- A dry exterior supports even browning and a crisp finish.
Step-by-step: from marinade to perfectly deep fried turkey
Start by making a quick, smooth liquid so your syringe flows cleanly and your meat absorbs even seasoning.
Melt, whisk, inject: minutes to marinade readiness
Gently melt butter and whisk in olive oil, hot sauce, lemon, and spices for the Cajun version. For beer-forward, whisk light beer with Worcestershire, honey, hot sauce, and kosher salt.
Strain the mix so no particles clog the needle. Load the syringe, purge air, and inject turkey at multiple angles across breasts and thighs for even coverage.
Resting, reinjecting, and bringing oil to temp
You can let the bird rest covered about an hour to let flavors move. If you see excess seepage, reinject lightly into the same zones with slow, controlled pushes.
While the surface stays dry, bring your frying oil to target temperature. Dab any visible spills so the oil and skin remain safe for cooking.
Safe fry, monitor, and cook to 165°F
Lower the bird slowly and watch bubbling intensity. Keep heat steady and avoid crowding the setup so you can adjust quickly.
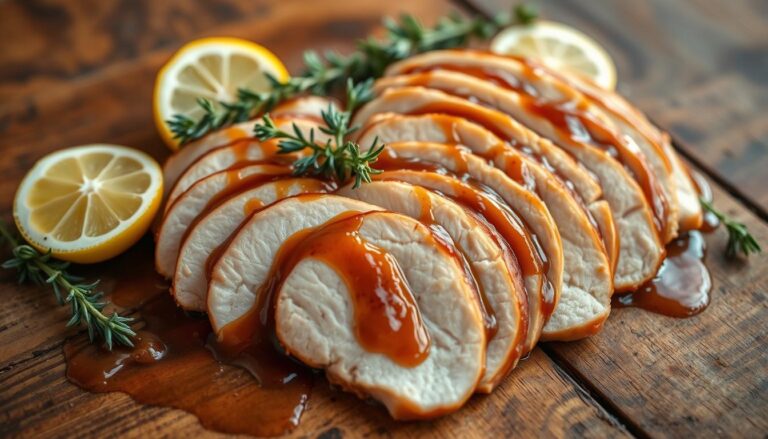
Use a reliable thermometer and finish when the thickest parts of the meat reach 165°F. Lift, drain, and rest briefly so juices redistribute before carving.
“Inject, pat dry, and monitor temperature — simple steps that protect flavor and safety.”
| Phase | Key action | Tip |
|---|---|---|
| Mix | Melt butter or warm beer mix | Strain to avoid clogs |
| Inject | Load syringe; inject breasts & thighs | Purge air; use slow strokes |
| Rest & prep | Cover briefly or inject just before cook | Keep skin dry; dab spills |
| Fry & finish | Lower slowly; monitor oil | Cook to 165°F; rest before carving |
Flavor variations: Cajun heat, citrus-garlic, and beer-forward options
Try three clear flavor routes to match your crowd: bold Cajun, bright citrus-garlic, or a smooth beer-forward blend.
Cajun route: Melted butter and olive oil form the base. Add hot sauce, ground thyme, garlic powder, onion powder, crab-and-shrimp boil, and Creole seasoning. A dash of cayenne and a little lemon juice lift the richness. Keep powders fine so the syringe flows cleanly.
Beer-forward option: Whisk 12 oz light beer with 2 tbsp Worcestershire sauce, 2 tbsp honey, a few drops of hot sauce, and 1 tsp coarse kosher salt. Warm gently and strain to keep the mix silky and clog-free.
Low-sodium & kid-friendly tweaks: Swap low-sodium broth for beer and cut added salt. Reduce hot sauce for milder recipes. You can scale each batch to match your bird so you use only what you need.

| Profile | Key ingredients | Heat level | Best match |
|---|---|---|---|
| Cajun turkey | Butter, hot sauce, thyme, Creole | Medium–High | Bold sides, spicy gravy |
| Citrus-garlic | Olive oil, lemon juice, garlic powder | Low–Medium | Bright salads, herb sides |
| Beer-forward | Light beer, Worcestershire sauce, honey | Low–Medium | Sweet-savory sides |
Serving ideas, sides, and leftover upgrades
Plan your plate around bold sides and clever uses for any leftover meat. Keep the balance simple: a few rich elements and a couple of acidic, bright dishes that cut through richness.
Pairings that work every way
Green bean casserole is a classic partner and appears twice as often on holiday tables for a reason.
You’ll serve the bird with fluffy rolls, herbed mashed potatoes, and roasted vegetables to add texture and color.
Plan a gravy or pan sauce that echoes the flavors you used so the plate stays coherent.
Leftovers and next-day recipes
You’ll turn leftover meat into sandwiches with crisp lettuce, quick pickles, and a tangy spread that brightens the meat.
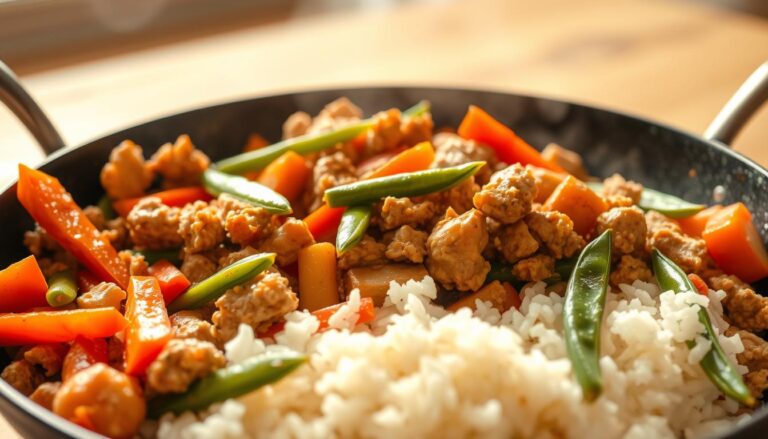
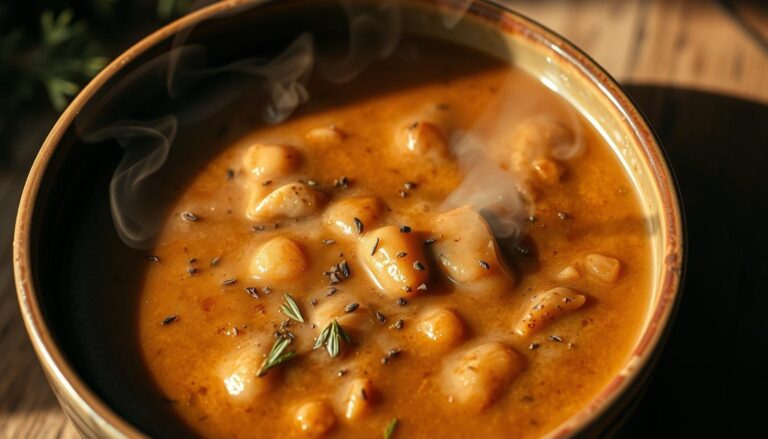
Simmer the carcass and trimmings to make stock, then use that base for comforting turkey or chicken noodle soup.
- You’ll slice to preserve juicy portions and reserve trimmings for broth or hash.
- You’ll store portions smartly to keep meat moist for quick weekday recipes.
- You’ll note guests’ favorites so you repeat the same plan next holiday.
“Serve simply, save wisely, and let smart sides show off your work.”
Storage, make-ahead, and reheating tips for injection marinade
Good make-ahead habits let you pull a smooth, pourable mix from the refrigerator in minutes. Store blends by base so flavor and texture stay consistent when you need them.
Butter-based batches go into an airtight container in the fridge for up to 2 weeks. Freeze extras for up to 6 months. When butter solidifies, re-melt gently in the microwave for a few seconds, then whisk to restore a smooth liquid.
Beer or broth mixes can be made up to two days ahead and kept in the fridge. Do not freeze alcohol-forward blends; freezing changes flavor and texture. Whisk chilled mixes before use to re-emulsify and keep the syringe clear.
Label each cup or jar with date and flavor notes so you can spot the right batch fast. Portion into small containers if you only need a little for a smaller bird.
“Warm just enough to flow — avoid scorching so delicate flavors hold.”
- Warm mixtures in short bursts for safe, even melting.
- Keep tools clean and dry to avoid introducing water that causes splatter.
- Plan your timeline so the mix is ready the moment you start prepping your turkey.
Troubleshooting and safety notes
A few targeted steps will keep your syringe working, limit leaks, and protect you around hot oil.
Clogged needle, leaking liquid, and simple fixes:
Prevent a blocked needle by using ultra-fine spice and well-strained liquid before loading your injector.
If the syringe clogs, backflush with warm liquid, disassemble and rinse, then strain the mix and try again. Avoid cracked pepper or chunky herbs that cause stops.
Reduce leaks by injecting slowly, pausing between pushes, and changing angles so the liquid spreads inside the muscle. Stay clear of bones and the cavity to prevent blowouts.

Keep the bird’s surface dry and remove any pooled water or spilled mix before lowering near hot oil. Dab the skin after each shot and place the turkey in its pan or rack before you inject to avoid jostling.
“A dry surface and steady hand pressure are your best defenses against splatter and slips.”
| Problem | Quick fix | Why it matters |
|---|---|---|
| Clogged syringe | Backflush, strain mix | Maintains steady flow |
| Leaking spots | Inject slowly, reposition | Prevents surface wetness |
| Oil splatter | Dry skin, remove water | Improves safety |
Conclusion
End with a quick checklist that keeps flavor, safety, and timing in balance on the big day.
You’ll leave with a clear, repeatable way to make a juicy, crisp turkey for Thanksgiving.
Use a sturdy syringe, a smooth marinade, and steady angles so seasoning spreads evenly. Match timing to your method: inject just before frying for a drier skin or hours ahead for deeper roast flavor.
Keep notes on base, angles, and timing. You’ll turn leftovers into sandwiches, soup, or stock and improve every year.